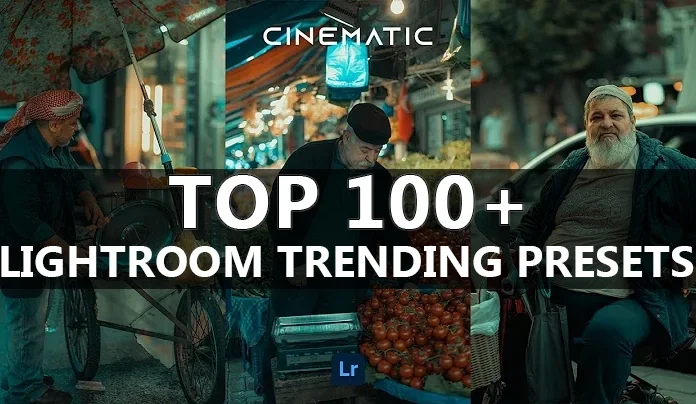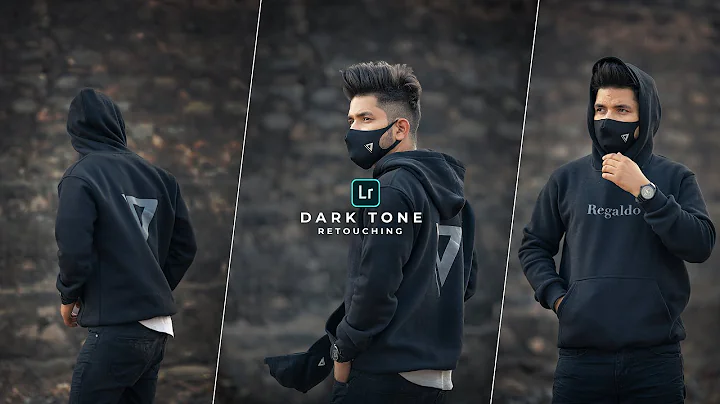
we’re diving into dark photo editing using mobile. I recently captured this photo for my blog, and you all loved it. So many of you asked how I achieved that “dark oil and gas” cinematic tone. If you’ve been wondering how to get that dramatic and moody look in your photos, you’re in the right place!
📸 Why Go for a Dark Editing Style?
Dark editing styles can make your portraits stand out with a moody, cinematic feel. It adds depth, character, and emotion—perfect for storytelling, travel, or fashion photography.
Now let me show you how you can do it step-by-step on your mobile using Adobe Lightroom.
Step 1: Start with a Raw or High-Quality Image
This particular image was taken in bright daylight, but I placed the subject against a textured background for more dramatic shadows. Despite harsh lighting, the editing gives it that smooth, rich tone.
Step 2: Basic Adjustments in Lightroom
-
Exposure: Slightly lower to make the image more moody.
-
Contrast: Reduce contrast to retain facial details.
-
Blacks: Reduce for deep shadows.
-
Whites: Increase slightly to balance the tones.
-
Temperature: Add cool tones using the Temperature slider for a slight blue effect.
-
Tint: Adjust toward green if the image feels too pink.
This gives you a nice, neutral base before we move on to color grading.
Step 3: Color Grading for the Dark Look
Go to the Color Mix panel and follow these settings:
-
Skin tones: Keep orange/yellow adjusted for natural skin without oversaturation.
-
Green, Blue, and Aqua: Reduce saturation to focus on shadows.
-
Luminance: Adjust to brighten or darken specific colors for that cinematic look.
At this point, your photo will start looking rich and dramatic.
Step 4: Add Texture and Clarity
-
Slightly increase Texture and Clarity to make the photo pop.
-
Adjust Dehaze for a cleaner look.
-
Reduce Noise slightly if needed.
This enhances the overall depth and makes details like hair and clothing textures stand out.
Step 5: Use the Masking Tool (Optional)
Use Lightroom’s selective masking to:
-
Brighten the face
-
Darken the background
-
Add spotlight effects on specific areas
This adds a professional finish.
Step 6: Final Touches with Effects
-
Add a vignette to focus attention toward the center.
-
Reduce Highlights to avoid overexposed areas.
-
Adjust Midpoint and Feathering for a soft fade.
And voilà! Your image now looks premium and dramatically styled.
Bonus: Use My Free Dark Preset
To make things easier, I’ve created a custom Dark Lightroom Preset that you can use.
Just import it into Lightroom Mobile:
-
Open Lightroom Mobile
-
Import the DNG file
-
Copy the settings and paste them onto your photo
No need to tweak manually—your photo will be perfectly graded with just one tap!
Final Thoughts
Dark photo editing doesn’t have to be complicated. With just a few adjustments and the right preset, you can transform any photo into a cinematic masterpiece. Whether you’re editing travel portraits or moody selfies, this style adds a touch of drama and elegance.