If you’ve ever wondered how to edit photos on your Android smartphone to look like they were taken on an iPhone — with vibrant, balanced, and cinematic quality — then this guide is for you. In today’s tutorial, you’ll learn how to use Google Photos to transform your regular mobile photos into stunning iPhone-style images using free tools.
This method is simple, effective, and doesn’t require any third-party paid apps. Whether you’re a beginner or casual photo editor, this step-by-step process will help you achieve premium photo quality right from your Android phone.
📲 Step 1: Download Google Photos
The first thing you need to do is download and install the Google Photos app from the Play Store. It’s free and officially provided by Google, making it secure and reliable.
👉 Download Google Photos from Play Store
👉 Google Photos on iOS
🖼️ Step 2: Open Your Image
Once Google Photos is installed, open the app and select the photo you want to edit. Tap on the image to open it in full view.
✨ Step 3: Use the Built-in Editing Tools
Tap the “Edit” icon at the bottom of the screen. You’ll now enter the photo editing panel with multiple options such as:
-
Filters
-
Adjustments
-
Crop & Rotate
Start with Filters:
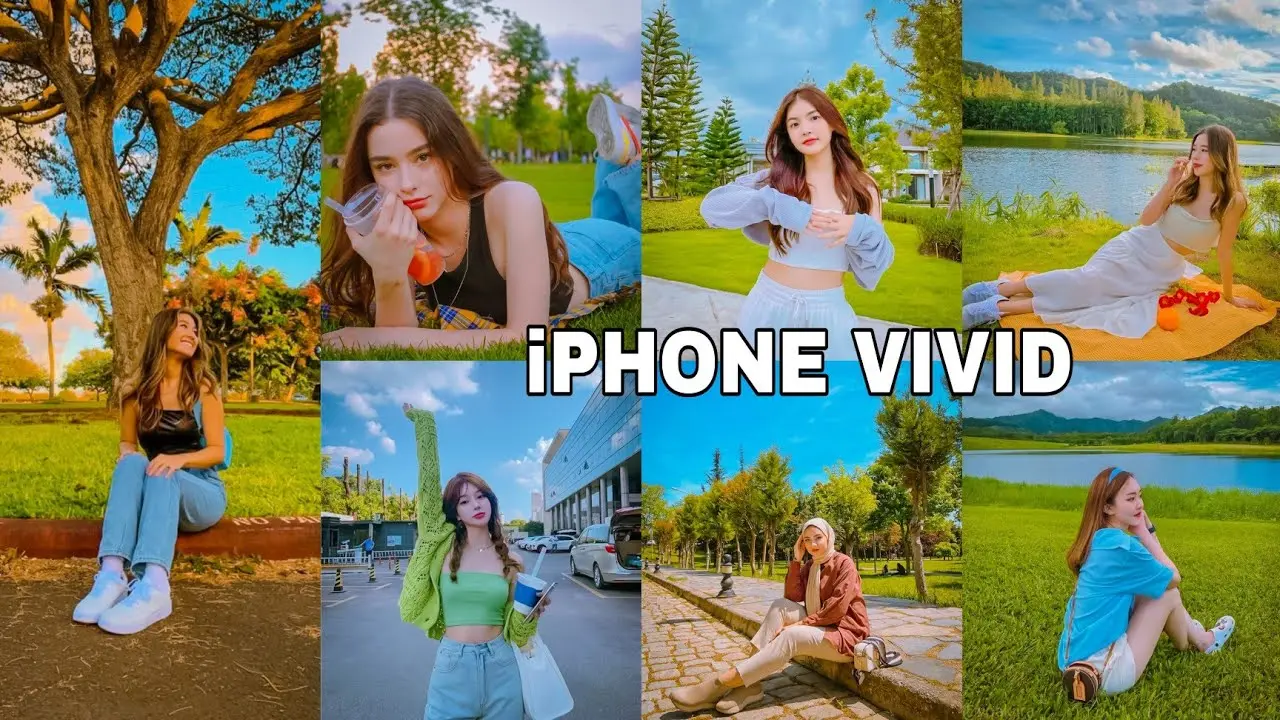
Tap on the “Filters” tab and scroll through the available presets. Look for the “Vivid” filter — it’s perfect for bringing out color without overdoing it.
📌 Pro Tip: Adjust the intensity of the filter manually to keep the photo natural. Avoid over-saturation.
🎛️ Step 4: Manual Adjustments for iPhone-Style Look
After applying the filter, go to the “Adjust” tab and apply the following changes:
| Adjustment | Value (Suggested) |
|---|---|
| Contrast | Around +20 |
| Brightness | +5 |
| Highlights | -70 |
| Shadows | +30 |
| Black Point | +10 |
| Saturation | +100 |
| Warmth | +5 |
| Tint | +5 |
| Skin Tone | -5 |
| Blue Tone | +5 |
| Grain | +5 (Optional) |
| Sharpness | Avoid for mobile pics |
📌 Note: These values are flexible. Feel free to adjust based on the lighting and tone of your photo.
🎨 Adjusting Skin Tone and Color Accuracy
If the face looks too saturated or colored unnaturally, reduce skin tone and slightly lower screen tone by adjusting it to around -5. This brings more realistic skin color and balances the overall photo tone.
📷 Before and After Comparison
Once you’ve made all the edits, compare the before and after versions using the slider tool in Google Photos. You’ll see a dramatic difference — as if the photo was taken from a high-end iPhone.
Want to further reduce highlights or adjust the white levels? Simply tweak the white balance to either add softness or increase contrast depending on the mood of your image.
💡 Additional Tips
-
For better portrait-style images, shoot in natural light.
-
Avoid extreme filters on already overexposed photos.
-
Want cinematic edits? Use apps like Snapseed or Lightroom Mobile for advanced control.
👉 Try Snapseed for Pro-Level Edits
👉 Get Lightroom Mobile
📺 Watch More Tutorials
This tutorial was just the beginning. If you’re interested in learning how to apply cinematic filters in VN Editor, CapCut, or more, check out the other tutorials available on our channel.
👉 CapCut: How to Add Cinematic Filters
👉 VN Video Editor Tutorials
📌 Conclusion
Editing Android photos to look like iPhone shots is easier than ever with Google Photos. With just a few tweaks in contrast, shadows, and tone, you can drastically improve the quality of your images. And the best part? It’s completely free.