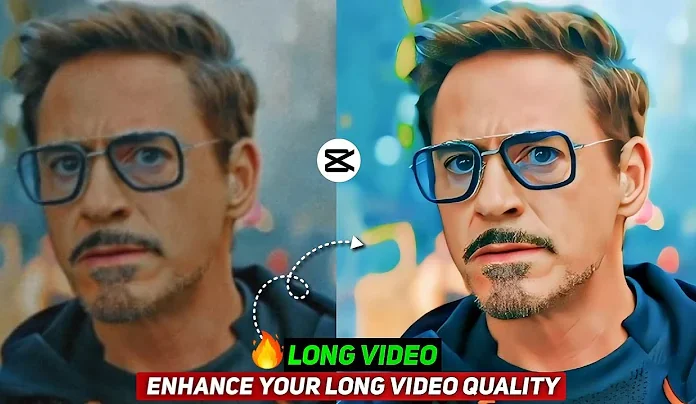
In today’s tutorial, we’re going to learn how to create smooth oil HDR video edits—something a lot of creators have been asking for. You’ve probably seen those eye-catching, ultra-smooth, vibrant videos on TikTok or Instagram and wondered: “How do they get that buttery quality?”
Well, you’re about to find out everything—from enhancing quality to final export. So, let’s dive in! 💻📱
Step 1: Download and Open the VN App
First things first—you’ll need the VN Video Editor app.
You might have used this app before, but not like this. In this guide, we’re using VN in a totally new way to extract the best possible quality.
-
Install VN from the Play Store or App Store.
-
Open the app and select “Quality Restoration” from the main menu.
-
Tap on Ultra HD > Try Now.
You might be thinking, “I already know this method.” But keep watching—what’s coming next will surprise you.
Step 2: Add and Enhance Your Video
Now, add your video to the app. Based on your internet speed, the app will take a few seconds to process. Once done, you’ll notice a slight enhancement in video quality.
But here’s the twist—you’re not stopping here.
We’re aiming for a next-level output. So:
-
Press the Save button to save the slightly enhanced video.
-
Go back to the main menu.
-
Import the same enhanced video again and repeat the process.
💡 Pro Tip: Repeat this 3 times. Each time, your video quality will get significantly better—sharper, smoother, and more vivid.
Step 3: Open CapCut for Color Adjustment
Now that your video has been triple-enhanced, it’s time to polish it with CapCut.
⚠️ Note: CapCut is banned in India. If you’re an Indian user, use a VPN or stick with VN for editing.
✅ Download CapCut (Global)
-
Open CapCut and import the final enhanced video.
-
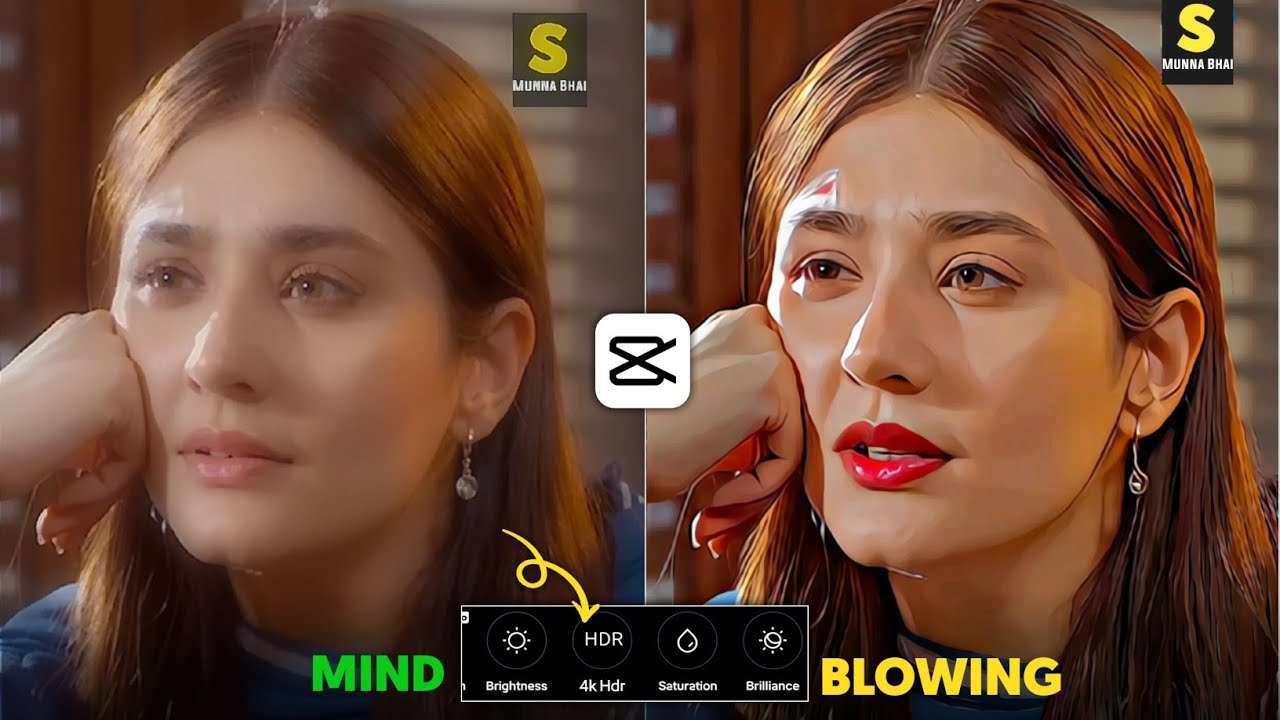
Go to Color Adjustment and start editing:
-
Saturation: Increase it slightly to make colors pop.
-
Brilliance: Decrease to soften the highlights.
-
Sharpness: Adjust to around 24–25 for clarity.
-
HSL (Hue, Saturation, Lightness): Customize according to your footage. For example, boost red tones for a bold look.
-
Shadows: Reduce to add depth.
-
Temperature: Increase slightly for a warmer tone.
-
Contrast: Slightly lower it for smoother gradients.
-
These tweaks will give your video that smooth oil-painting HDR vibe that’s trending hard right now.
Step 4: Final Export and Optional Re-Enhancement
Once your edits are complete:
-
Remove the CapCut watermark or ending frame (if any).
-
Set your export settings to high quality.
-
Tap Export.
But wait—if you’re someone who doesn’t want to compromise on quality at all, here’s an extra step:
-
Reopen the VN Video Editor.
-
Go back to Quality Restoration.
-
Import the CapCut-edited video and enhance it one final time.
After this final pass, your video will be fully ready—with ultra-smooth textures, HDR clarity, and a professional finish.
Results You Can’t Even Get in After Effects
Yes, you read that right. This process gives you a look that’s so polished, even high-end software like After Effects would struggle to recreate it so quickly and effortlessly on a mobile device.
And the best part? You didn’t even need a PC. Just your smartphone, VN, and CapCut.
Final Thoughts
That’s it, friends! Your Smooth Oil HDR Video is now ready for TikTok, Instagram Reels, YouTube Shorts, or wherever you post your content. If you follow these steps correctly, your audience will be left wondering how you got such high-end video quality with just a phone.
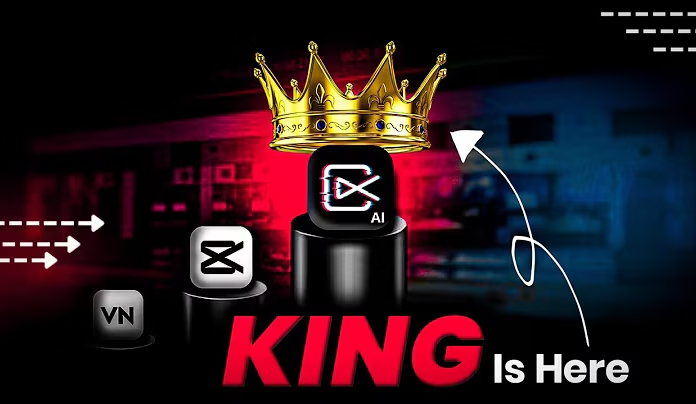
Let’s recap the tools used:
-
✅ VN Video Editor – For AI-based ultra HD quality restoration.
-
✅ CapCut – For color grading, HSL tweaks, and final polish.
-
🔒 Optional VPNs like NordVPN or ProtonVPN for CapCut access in banned regions.
If this tutorial helped you, make sure to leave a comment, like, and share it with your fellow creators.