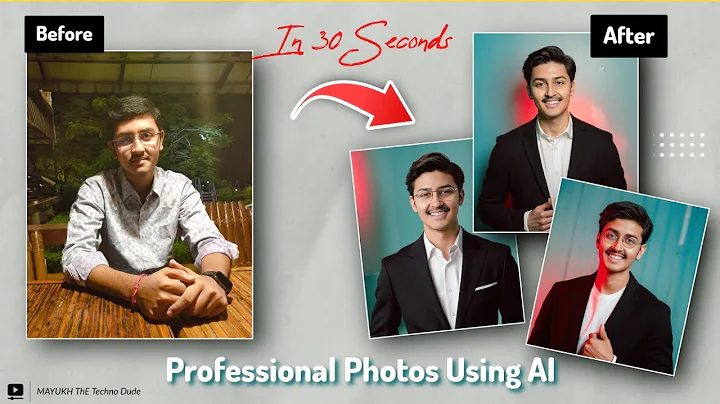
A professional profile photograph is far more than just a mere snapshot—it serves as your initial introduction in the virtual realm. Whether for social media, job prospects, or networking portals, an expertly composed image can greatly influence how you are perceived. Below is a comprehensive guide to crafting a profile image that exudes professionalism, self-assurance, and credibility.
Why a Professional Profile Image Holds Significant Value
Your profile photo is, essentially, your digital handshake. On platforms like LinkedIn, Facebook, or even within email signatures, it’s often the first impression you leave on others. A polished photo fosters trust, cultivates a personal connection, and strengthens your professional brand. Dedicating time to perfecting this image is an investment in both your personal and career development.
Step 1: Curate the Appropriate Attire
Dress for Success
Your choice of attire should reflect both your industry and career aspirations. For those in more formal sectors, like corporate environments, traditional business attire such as a suit or a neatly pressed shirt is appropriate. In contrast, creative professionals may opt for semi-formal or business casual wear to convey a sense of approachability while maintaining professionalism.
Opt for Solids, Not Patterns
Choose colors that are simple and timeless—think of shades like navy, charcoal, or classic white. Bold patterns or overly bright colors should be avoided, as they can detract from the focal point of the photo: you.
Step 2: Prioritize Grooming
Hair and Makeup
Ensure that your hair is styled neatly and without any stray strands. For makeup, the aim should be to highlight your natural features in a subtle way—too much makeup can overshadow your authentic self. You can explore tutorials on platforms like YouTube for subtle and professional makeup tips.
Facial Grooming
Men should maintain a well-trimmed beard or opt for a clean-shaven look, depending on personal preference. Don’t overlook the finer details—pay attention to your skin’s appearance and eyebrows.
Step 3: Optimize the Lighting
Embrace Natural Light
Natural lighting is your best friend. The ideal lighting for a profile picture is soft and warm, best captured during the golden hour—just after dawn or before dusk. Steer clear of harsh midday sunlight.
Indoor Lighting Options
When shooting indoors, use tools like a ring light to evenly illuminate your face. Position it directly in front of you to avoid unflattering shadows.
Step 4: Choose a Neutral Background
A simple, clutter-free background ensures that your face is the focal point. Consider using a solid-colored wall, a professional office setting, or a softly blurred outdoor scene. Avoid overly busy or chaotic backdrops.
Step 5: Perfect the Pose
Posture and Body Positioning
Maintain an upright posture, with your shoulders back and chest open. Angle your body slightly to one side while keeping your gaze directed at the camera. This creates depth and a more dynamic portrait.
Expression and Emotion
A sincere smile conveys warmth and approachability. Practice in front of a mirror to find a look that feels confident and natural.
Step 6: Use Top-Tier Equipment
Camera Quality
While DSLR cameras like those from Canon or Nikon produce professional results, today’s high-end smartphones from Apple or Samsung can also capture exceptional images.
Stability is Key
Use a tripod or secure your phone on a stable surface to eliminate blurriness.
Step 7: Edit with Subtlety
Basic Adjustments
Use reliable photo editing tools such as:
-
Adobe Lightroom – for detailed lighting and color correction.
-
Canva – for quick, user-friendly touch-ups and cropping.
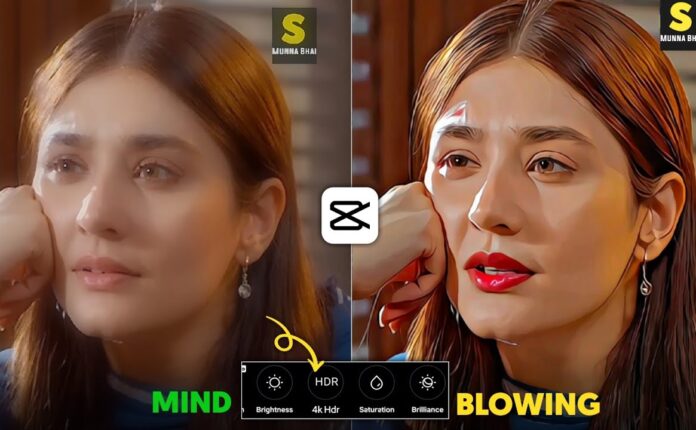
Avoid heavy filters or retouching that make the photo look unnatural.
Cropping and Framing
Crop your image so it shows your face and shoulders. The best profile photos are typically head-and-shoulders shots that focus on facial expression and clarity.
Step 8: Review and Refresh Regularly
Review how your photo looks across multiple platforms and devices. Profile pictures often appear circular, so ensure your face is centered. Update your photo every 2–3 years or when your appearance significantly changes.
Common Pitfalls to Steer Clear Of
-
Excessive Editing: Avoid filters that make you look overly airbrushed.
-
Distracting Backgrounds: Always opt for clean, neutral spaces.
-
Subpar Lighting: Grainy or dim photos diminish professionalism.
-
Inappropriate Attire: Even casual platforms deserve thoughtful presentation.
Scenarios Where a Professional Profile Picture is Crucial
-
LinkedIn: Build trust and credibility in your industry.
-
Social Media: Strengthen your personal brand.
-
Job Applications: Your photo may be seen by recruiters during the initial scan.
-
Email Signatures: Add a touch of professionalism to every message you send.
Final Thoughts
Crafting a professional profile picture is a simple yet powerful step in strengthening your digital presence. By following these tips and using the recommended tools, you’ll be able to project a confident, credible, and approachable image—no matter the platform.
📸 Need help editing your image? Try Fotor, Pixlr, or Remove.bg for easy background removal and touch-ups.


